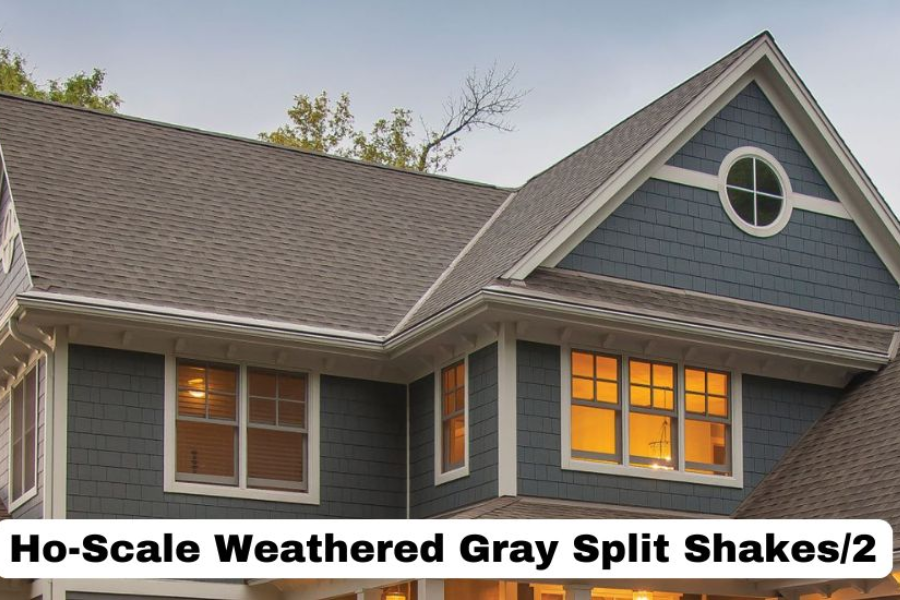
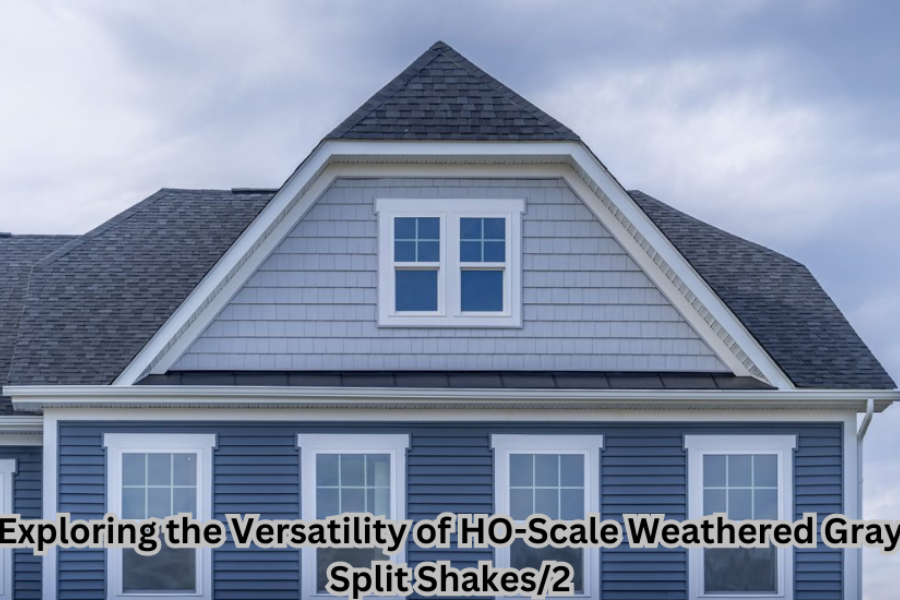
Crafting Realism: Enhancing Your Model Railroad with HO-Scale Weathered Gray Split Shakes
Model railroading is an intricate hobby that thrives on detail, precision, and creativity. It’s about more than just assembling tracks and running trains; it’s about building a miniature world that feels authentic and alive. A key element in achieving this realism is the attention to small details, like the roofing on your model buildings. One such detail that can elevate your model railroad to the next level is the use of HO-scale weathered gray split shakes. These miniature shingles might seem insignificant at first, but they are crucial in adding depth, character, and a sense of history to your model structures. In this comprehensive guide, we’ll explore everything you need to know about HO-scale weathered gray split shakes, from their benefits to application techniques, ensuring that your model buildings look as realistic as possible.
What Are HO-Scale Weathered Gray Split Shakes?
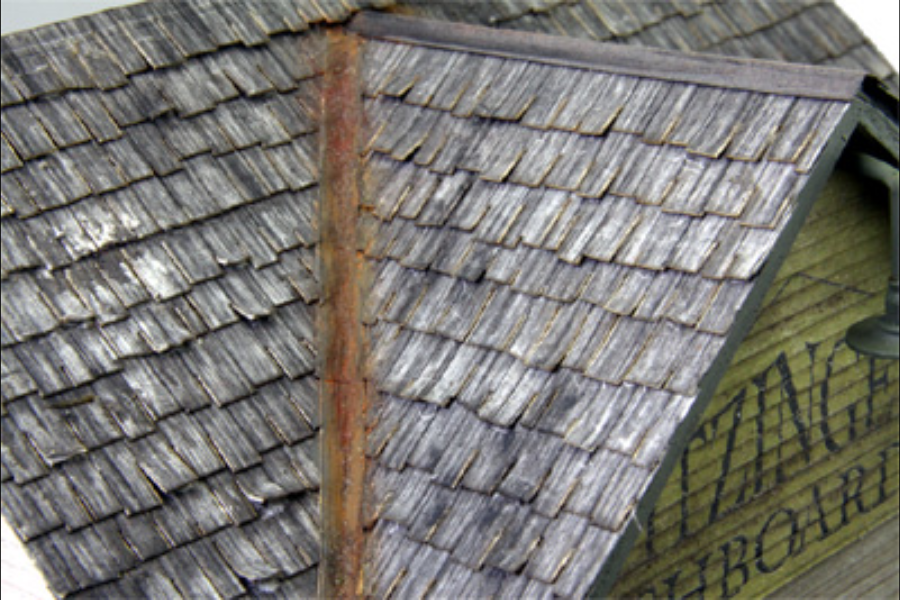
HO-scale weathered gray split shakes are small, detailed roofing shingles designed to replicate the appearance of aged, weathered wood. These shakes are crafted to fit the HO scale, which is a popular scale in model railroading where 1 inch equals 87 inches in real life. The weathered gray color of these shakes is particularly effective in conveying the look of old, time-worn roofs that have endured years of exposure to the elements. The natural variation in color and texture among the shakes enhances their realism, making them an ideal choice for modelers looking to create vintage or rustic scenes.
Why Choose Weathered Gray?
The choice of weathered gray for these shakes is more than just an aesthetic decision. Weathered gray shingles suggest a story of endurance and history, making your model buildings look as though they’ve stood the test of time. This color adds a layer of authenticity, making it perfect for structures that you want to appear aged and well-worn. Whether you’re modeling an old farmhouse, a dilapidated barn, or a vintage railway station, weathered gray split shakes are the ideal roofing material to capture that aged, realistic look.
Advantages of Weathered Gray Split Shakes Construction
Realism
One of the most significant benefits of using HO-scale weathered gray split shakes is the realism they bring to your model. The fine details in the color and texture of these shakes mimic the appearance of real weathered wood, adding a level of detail that can make your model buildings stand out. The subtle variations in shade and the worn edges of the shakes contribute to a more believable, natural look, enhancing the overall visual appeal of your layout.
Variety
Weathered gray split shakes are available in a wide range of shades and textures, allowing you to choose the ones that best fit your project. This variety means you can mix and match different types of shakes to create a roof that looks truly unique and realistic. Whether you prefer a more uniform appearance or a roof that shows signs of patchwork repairs, there’s a type of weathered gray shake that will suit your needs.
Durability
When constructed from high-quality materials, weathered gray split shakes are durable and long-lasting. These shakes are designed to withstand the rigors of handling during model construction and display, ensuring that your model remains beautiful for years to come. Their durability also means that once you’ve applied them to your model, you won’t have to worry about them deteriorating or losing their realistic appearance.
Quality Considerations for HO-Scale Weathered Gray Split Shakes
To achieve the best results with HO-scale weathered gray split shakes, it’s essential to consider a few key factors during selection and application.
Material Quality
The quality of the materials used to create the shakes is paramount. Look for shakes made from sturdy, resilient materials that closely mimic the appearance and texture of real wood. High-quality shakes will have a natural look and feel, with subtle variations in color that enhance their realism.
Color Gradient
Weathered wood naturally exhibits a range of colors, from light gray to almost black, depending on the extent of weathering. When selecting your shakes, choose ones that offer slight differences in color. This variation will help create a more realistic roof, as it mimics the natural aging process of wood.
Scale Accuracy
It’s crucial to ensure that the shakes you use are accurately scaled to fit your HO-scale models. Shakes that are too large or too small can disrupt the realism of your model, so double-check the scale before making your purchase.
Preparing Your Model for Applying Shakes
Proper preparation of your model is critical before applying weathered gray split shakes. This preparation will ensure that the shakes adhere properly and that the final result looks natural.
Setting Up a Clean and Organized Area
Before you begin, make sure your workspace is clean and well-organized. This will help you avoid losing small parts and ensure a smooth, efficient workflow. Having all your tools and materials within easy reach will also make the process more enjoyable and less stressful.
Planning the Layout
Take the time to plan out the layout of your shakes before you start gluing them down. In real life, wood shakes are often installed in staggered rows, and replicating this pattern on your model will add to the realism. By carefully planning the layout, you can achieve a more interesting and natural-looking roof.
Weathered Gray Shake Application Techniques
Applying HO-scale weathered gray split shakes requires attention to detail and patience. The following techniques will help you achieve the best possible results.
Step 1: Cutting the Shakes
Start by cutting your wood or plastic sheets into small, shingle-sized pieces. Precision is key here, as uniformity in size will ensure a more realistic appearance. Take your time with this step, as the quality of your cuts will significantly impact the final look of your roof.
Step 2: Applying the Base Coat
Once you’ve cut your shakes, apply a base coat of gray paint. This base coat will serve as the foundation for the weathering process. Be sure to apply the paint evenly and allow it to dry completely before moving on to the next step.
Step 3: Adding Weathering Effects
After the base coat has dried, use weathering powders and washes to create a worn, aged look. Focus on areas where natural wear and tear would occur, such as the edges of the shakes and around any joints or seams. The goal is to create a subtle, natural-looking weathered effect that enhances the realism of your model.
Step 4: Final Touches and Detailing
Finally, add any final touches to your shakes, such as highlights or darker streaks. These small details can make a big difference in the overall appearance of your roof, giving it a convincingly old and weather-beaten look.
Using Adhesives
When it comes to attaching the shakes to your model, choose a strong, clear adhesive. Apply the adhesive sparingly to avoid any excess that could mar the appearance of your roof. A good adhesive will keep your shakes securely in place without detracting from their natural look.
Weathering Effects and Advanced Techniques
If you want to take your weathering effects even further, there are additional techniques you can use to enhance the realism of your HO-scale weathered gray split shakes.
Techniques for Adding Texture
One effective way to add texture to your shakes is to use a dry-brushing technique. Lightly dab your brush in paint and then sweep it across the surface of the shakes. This will create a rough, textured appearance that mimics the look of aged wood.
Using Weathering Powders and Washes
Weathering powders and washes are excellent tools for adding depth and variation to your shakes. Apply them sparingly, focusing on areas that would naturally accumulate dirt and grime. Be careful not to overdo it, as too much weathering can make your shakes look unrealistic.
Common Mistakes to Avoid
Even experienced modelers can make mistakes when applying HO-scale weathered gray split shakes. Here are some common pitfalls to watch out for.
Over-Weathering
While weathering is essential for realism, it’s easy to go overboard. Too much weathering can make your shakes look unnatural and detract from the overall appearance of your model. Aim for subtlety, and remember that less is often more when it comes to weathering.
Inconsistent Application
Consistency is key when applying weathered gray split shakes. Inconsistent application can break the illusion of realism, so take your time and ensure that each shake is applied with care and precision.
Incorporating Shakes into Your Layout
Once you’ve successfully applied your HO-scale weathered gray split shakes, it’s time to incorporate them into your model railroad layout.
Best Placement Ideas
Weathered shakes are ideal for older buildings, sheds, or structures that would logically show wear and tear. Placing them on these types of structures enhances the story of your layout and adds to the overall realism.
Enhancing Overall Realism
To create a cohesive, realistic scene, combine weathered shakes with other details like faded signs, rusted metal, and cracked paint. These additional elements will work together to create a miniature world that feels lived-in and authentic.
Maintaining Your Weathered Shakes
To ensure that your weathered shakes maintain their appearance over time, it’s important to take proper care of them.
Cleaning and Upkeep
Regularly dust your model buildings to keep them looking their best. Use a soft brush to gently remove any dust or dirt that may accumulate, taking care not to damage any delicate parts.
Long-Term Durability Tips
To protect your weathered shakes from handling and environmental factors, consider sealing them with a clear matte finish. This will help preserve their appearance and ensure they remain beautiful for years to come.
Advanced Techniques for Experienced Modelers
If you’re an experienced modeler looking to push the boundaries of realism, consider experimenting with custom shading and coloring.
Custom Shading and Coloring
By experimenting with different shades of gray and other colors, you can create unique, custom looks for your shakes. This allows you to tailor the appearance of your roof to match the specific style and era of your model building.
Experimenting with Mixed Materials
For a truly unique roof, try mixing different materials like wood, plastic, and metal. This can create an interesting contrast in textures and add a new level of realism to your model.
Conclusion: Elevating Your Model Railroad
In conclusion, HO-scale weathered gray split shakes are a powerful tool for adding realism and character to your model railroad. By following the tips and techniques outlined in this guide, you’ll be well on your way to creating model buildings that look as though they’ve stood the test of time. Whether you’re a seasoned modeler or just starting out, the attention to detail that these shakes provide will help elevate your model railroad to new heights of realism. Happy modeling!